-

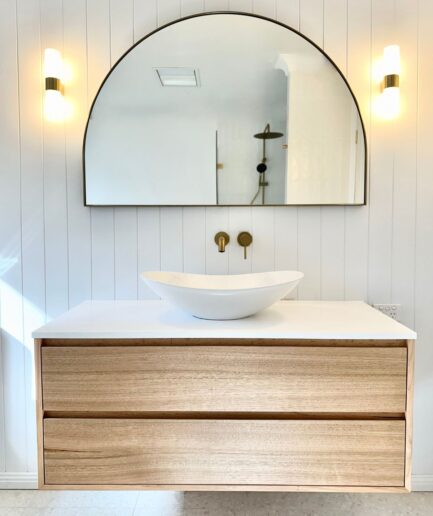
Acacia – Bathroom Vanity
$2,510.00 – $5,000.00 -
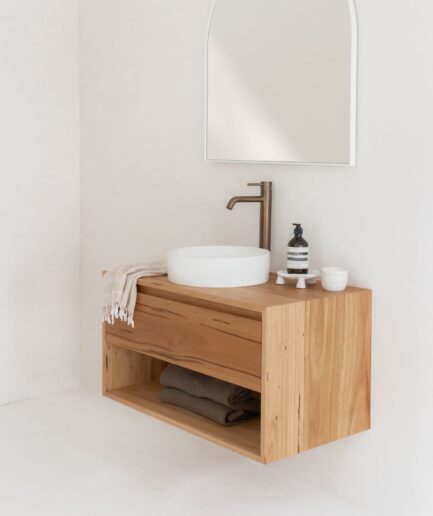

Banksia – Bathroom Vanity
$1,990.00 – $4,460.00 -
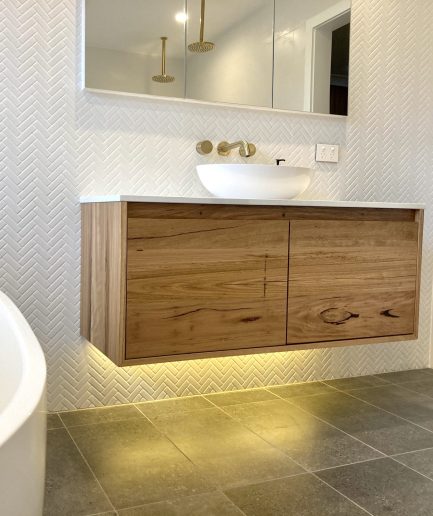
Waratah – Bathroom Vanity
$2,149.20 – $4,816.80 -


Bottlebrush – Barn Door
$1,538.00 – $3,900.00 -
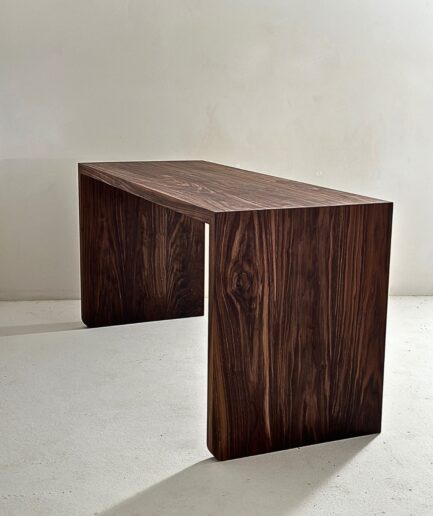
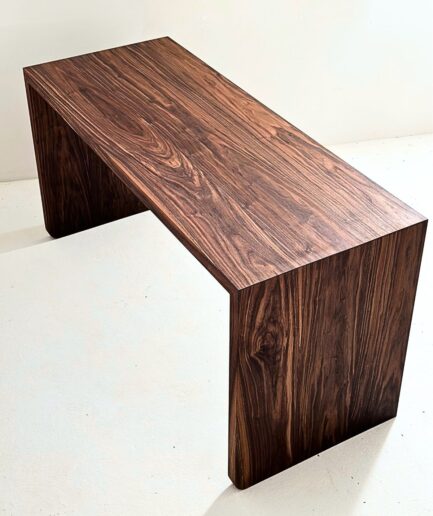
Falls Desk
$2,717.00 – $3,679.00 -
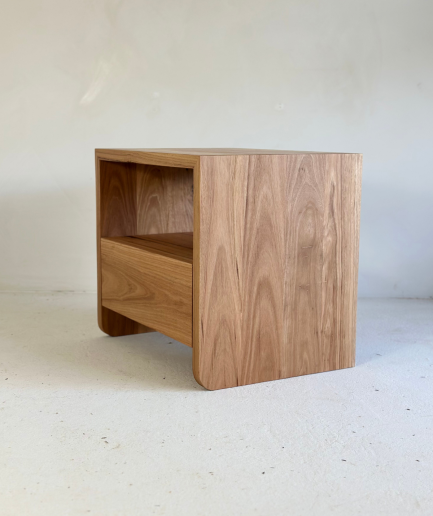
Falls Bedside Table
$1,140.00 – $1,190.00 -
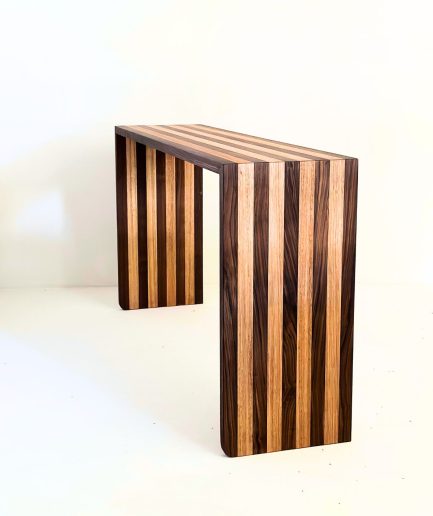
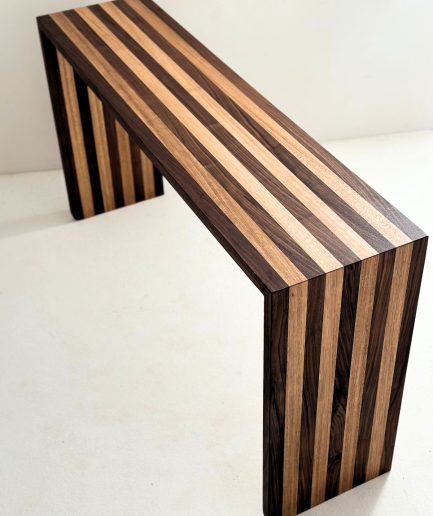
Falls Console Table
$1,700.00 – $2,180.00 -

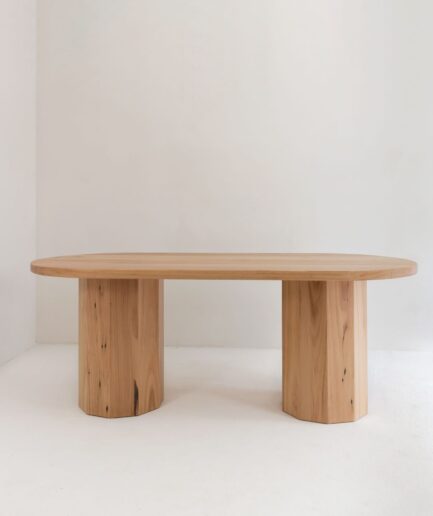
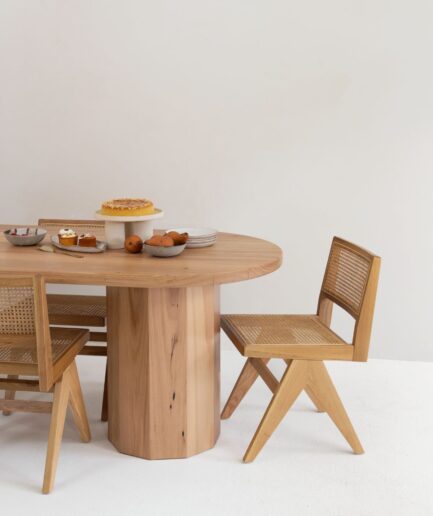
Eveleigh Table
$4,190.40 – $5,472.00 -

Stevie Desk
$2,240.00 – $2,940.00 -
Summit Table
$5,028.00 – $6,132.00